🌟 Why Photoshop Layer Masking is Essential
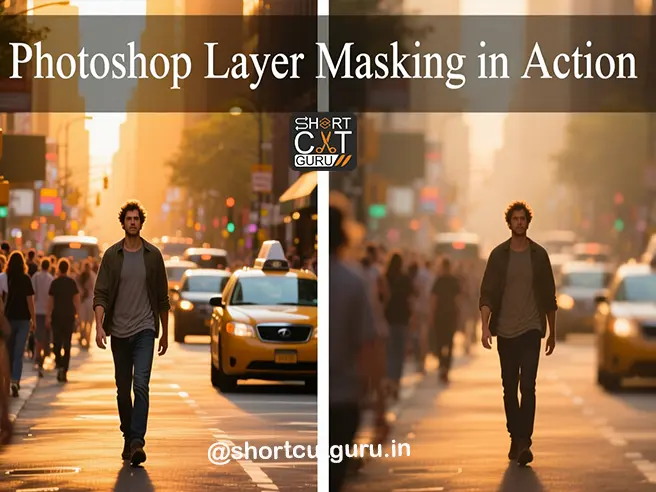
If you’ve ever wanted to blend two photos seamlessly, remove a distracting object, or create a stunning composite without permanently altering pixels — Photoshop Layer Masking is your secret weapon.
Unlike the Eraser Tool (which deletes pixels forever), layer masks are non-destructive. That means you can hide or reveal parts of a layer at any time — even weeks later — without losing image data. This flexibility is why professional photographers, designers, and digital artists rely on Photoshop Layer Masking daily.
In this comprehensive Photoshop masking tutorial, you’ll learn:
- ✅ The difference between layer masks and vector masks — including a full vector mask vs layer mask breakdown
- ✅ Step-by-step guide on how to use layer masks in Photoshop
- ✅ Secrets to using Mask All Objects Photoshop for AI-powered selections
- ✅ Advanced techniques: feathering, density, inverting, and refining edges
- ✅ How to apply, disable, or delete masks without damaging your work
- ✅ Pro tips for workflow efficiency and file optimization
Table of Contents
🧩 Part 1: Layer Mask vs Vector Mask — The Ultimate Vector Mask vs Layer Mask Guide
🔹 What is a Layer Mask?
A layer mask is a grayscale channel attached to a layer. It controls the visibility of that layer:
- Black = Hidden (transparent)
- White = Visible (opaque)
- Gray = Semi-transparent (based on shade)
Layer masks are resolution-dependent, meaning they’re made of pixels — perfect for organic shapes like hair, smoke, or landscapes.
🔹 What is a Vector Mask?
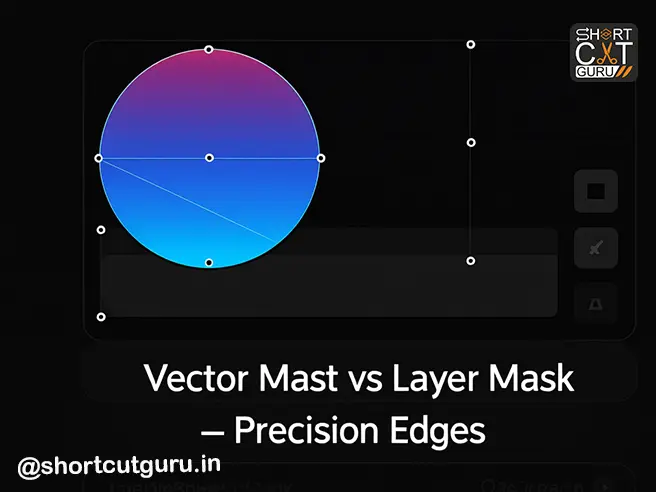
A vector mask uses mathematical paths (created with the Pen or Shape Tool) to define sharp, scalable edges. Unlike layer masks, vector masks are resolution-independent — they stay crisp at any size.
Vector masks are ideal for:
- UI/UX elements (buttons, banners, icons)
- Geometric shapes
- Clean-cut product designs
Image Generation Prompt: “Vector mask in Photoshop: A perfect circle clipping a vibrant gradient layer. Show anchor points and path lines. Minimalist design with dark mode UI. Caption: ‘Vector Mask vs Layer Mask — Precision Edges’.”
🔹 Vector Mask vs Layer Mask — Key Differences at a Glance
| Based on | Pixels (grayscale) | Paths (mathematical) |
| Scalability | Loses quality if scaled | Infinitely scalable |
| Best For | Organic shapes (hair, clouds) | Sharp edges (logos, UI) |
| Editing Tools | Brush, Gradient, Selections | Pen Tool, Shape Tool |
| File Impact | Increases file size slightly | Minimal file impact |
Pro Tip: Combine both! Use a vector mask for clean shapes and layer mask for soft transitions.
🛠️ Part 2: How to Use Layer Masks in Photoshop — Step by Step
Whether you’re following a Photoshop masking tutorial or building your own workflow, here’s exactly how to use layer masks in Photoshop like a pro.
✅ Step 1: Convert Background to Regular Layer
By default, Photoshop locks the Background layer. To mask it:
- Go to Layer > New > Layer from Background
- Click OK — now it’s editable!
✅ Step 2: Add a Layer Mask
With your layer selected:
- Click the Add Layer Mask button (rectangle with circle) at the bottom of the Layers panel.
- OR go to Layer > Layer Mask > Reveal All (to show everything) or Hide All (to hide everything).
Pro Tip:
- Alt-click (Win) / Option-click (Mac) the mask button to Hide All instantly.
✅ Step 3: Paint on Your Mask
Use the Brush Tool (B):
- Paint with Black to hide parts of the layer.
- Paint with White to reveal them again.
- Use Gray for partial transparency (great for smoke, glass, or soft edges).
Image Generation Prompt: “Hand using a graphics tablet to paint with black brush on a layer mask in Photoshop. Screen shows before/after toggle. Professional studio setup. Caption: ‘How to Use Layer Masks in Photoshop — Painting Precision’.”
🤖 Part 3: Mask All Objects Photoshop — AI-Powered Object Masking
Photoshop’s Mask All Objects feature is a game-changer. It uses Adobe Sensei AI to detect and auto-generate masks for every distinct object in your layer — perfect for group photos, product shots, or complex scenes.
✅ How to Use Mask All Objects Photoshop
- Select your layer.
- Go to Layer > Mask All Objects
(or right-click layer → Mask All Objects) - Wait as Photoshop analyzes and creates mask groups.
Note: May take 1–3 minutes for complex images.
✅ Why Mask All Objects Photoshop is Revolutionary:
- Automatically separates people, objects, animals, products onto individual masked layers.
- Perfect for applying Generative Fill, Adjustments, or Filters to specific items.
- Saves HOURS of manual masking.
Example: 6 people in a group photo? Each gets their own mask group + one group mask for all.
Image Generation Prompt: “Before/After: Group photo of 6 people. After: Each person is on a separate layer with green checkmark icons. Floating adjustment layers above. Clean, modern infographic style. Caption: ‘Mask All Objects Photoshop — AI Does the Work’.”
⚙️ Part 4: Managing Masks — Disable, Unlink, Apply
🔗 Unlink Layer and Mask
By default, layer and mask move together. To move them independently:
- Click the link icon between layer and mask thumbnails.
Use Case: Repositioning a subject while keeping the mask boundary fixed.
🚫 Disable/Enable a Mask
Temporarily turn off a mask to compare:
- Shift-click the mask thumbnail → Red “X” appears.
- Shift-click again to re-enable.
🗑️ Apply or Delete a Mask
⚠️ Warning: Applying a mask permanently deletes hidden pixels (except on Smart Objects).
To Apply:
- Click Apply Mask in Properties panel (checkmark icon).
To Delete (without applying):
- Click Delete Mask (trash icon) → Confirm “Delete”.
Pro Tip: Always duplicate your layer before applying masks!
🖥️ Part 5: Viewing & Customizing Your Mask
👁️ View Mask Only (Grayscale)
- Alt-click (Win) / Option-click (Mac) the mask thumbnail.
- Click again to return to normal view.
🟥 View Mask as Rubylith Overlay
- Alt+Shift-click (Win) / Option+Shift-click (Mac) mask thumbnail.
- Mask appears as translucent red overlay.
- Great for checking edge accuracy.
🎨 Change Mask Overlay Color & Opacity
- Double-click the mask channel in the Channels panel.
- Choose new color and opacity (0–100%).
- Click OK.
Note: This only changes how the mask looks on-screen — not how it functions.
🧪 Part 6: Practical Applications — From Basics to Brilliance
🖼️ Creating Stunning Photo Composites
- Mask out subject from Photo A.
- Place over background from Photo B.
- Use Feather + Density to blend edges naturally.
- Add Curves or Color Balance adjustment layers clipped to mask.
🧍 Removing People or Objects
- Use Object Selection Tool or Pen Tool to select unwanted item.
- Add Layer Mask → hides selection.
- Use Clone Stamp or Generative Fill on a new layer to replace background.
🎨 Targeted Color & Exposure Adjustments
- Mask the sky → Add Gradient Map for sunset tones.
- Mask a person → Add Hue/Saturation to change shirt color.
- Mask foreground → Add Curves to brighten shadows.
Example from Transcript:
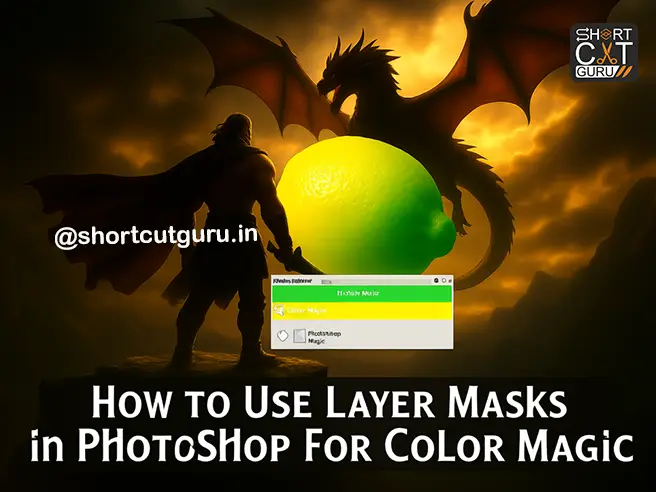
“Hue/Saturation applied to lemon to turn it into a lime — using mask group.”
🧹 Part 7: Cleanup & Optimization Tips
🗑️ Delete Empty Layers After Masking
After using Mask All Objects Photoshop, you may have empty groups.
Go to:
File > Scripts > Delete All Empty Layers
Cleans up your file and reduces PSD size.
💡 Pro Workflow Tip: Use Smart Guides + CMD to Preview Mask
- Select Move Tool (V).
- Turn on Show Transform Controls.
- Hold CMD (Mac) / Ctrl (Win) → mask highlights with Smart Guides!
Super helpful for alignment and positioning.
📊 Part 8: Photoshop Layer Masking Cheat Sheet
| Add Mask (Reveal All) | Click mask icon or Layer > Layer Mask > Reveal All |
| Add Mask (Hide All) | Alt/Option + click mask icon |
| View Mask Only | Alt/Option + click mask thumbnail |
| Toggle Mask On/Off | Shift + click mask thumbnail |
| Invert Mask | Ctrl/Cmd + I |
| Feather Edges | Properties > Feather Slider |
| Refine Edges | Properties > Select and Mask |
| Unlink Layer & Mask | Click link icon between thumbnails |
| Apply Mask | Properties > Apply Mask (⚠️ destructive) |
| Delete Mask | Properties > Delete Mask |
Image Generation Prompt: “Clean, printable Photoshop Layer Masking Cheat Sheet with icons, shortcuts, and color-coded sections. Modern flat design, A4 size. Header: ‘Master Photoshop Layer Masking’.”
🧠 Final Pro Tips & Best Practices
- Always work non-destructively — use masks instead of erasing.
- Name your layers and masks — future you will thank you.
- Use groups to organize masked elements (especially with Mask All Objects Photoshop).
- Zoom in when painting fine details — use 1–5px soft brush.
- Save versions — masks can get complex; save incremental PSDs.
- Combine masks with blend modes for advanced compositing.
- Use adjustment layers + masks together for maximum flexibility.
❓ Frequently Asked Questions (FAQ)
❓ Can I use layer masks on Smart Objects?
✅ Yes — but you cannot apply the mask permanently (to preserve Smart Object integrity).
❓ What’s the difference between a Clipping Mask and a Layer Mask?
- Layer Mask: Controls visibility of ONE layer.
- Clipping Mask: Uses the shape/opacity of the layer BELOW to mask the layer ABOVE.
❓ Why is my mask not working?
- Check if mask is disabled (red X).
- Ensure you’re painting on the mask, not the layer.
- Make sure brush opacity/flow isn’t set too low.
❓ Can I animate layer masks in video?
✅ Yes! In Photoshop Timeline or After Effects — animate mask position, feather, or density over time.
🏁 Conclusion: Unlock Endless Creative Possibilities with Photoshop Layer Masking
Layer masking isn’t just a tool — it’s a philosophy of non-destructive, flexible, precision editing. Whether you’re a photographer removing tourists from landmarks, a designer creating UI mockups, or a digital artist building fantasy worlds — mastering Photoshop Layer Masking will transform your workflow.
“In Photoshop, the mask is mightier than the eraser.”
Start simple: hide a background, reveal a sky, turn a lemon into a lime. Then level up: refine hair, auto-mask objects with Mask All Objects Photoshop, animate transitions. The possibilities are truly endless.
✅ Ready to Mask Like a Pro?
Bookmark this ultimate Photoshop masking tutorial. Practice daily. Experiment fearlessly. And remember — every master was once a beginner.
Got questions? Drop them in the comments below 👇
Share your masking wins with #PhotoshopMaskMaster


