In the world of video editing, Adobe Premiere Pro stands as one of the most powerful tools. One way to enhance productivity and efficiency while working with Premiere Pro is by mastering its keyboard shortcuts. These shortcuts not only save time but also streamline the editing process, making it more intuitive and fluid. Below, we explore the most useful Premiere Pro keyboard shortcuts that every editor should know.
Table of Contents : Premiere Pro Keyboard Shortcuts
1. Basic Navigation Premiere Pro Keyboard Shortcuts
a. Timeline Navigation
- Spacebar: Play/Stop – The spacebar is perhaps the most commonly used shortcut.
- By pressing it, the timeline’s video playback can be resumed or stopped.
- Left Arrow/Right Arrow: Move Frame by Frame – These keys allow you to move frame by frame, which is essential for precise editing.
- Up Arrow/Down Arrow: Jump to Previous/Next Edit Point – Quickly navigate to the previous or next edit point in the timeline.

b. Project Panel
- Cmd/Ctrl + 0: Activate Project Panel – This shortcut brings up the project panel, making it easy to find and organize your media.
- Cmd/Ctrl + Shift + N: New Bin – Create a new bin to keep your project panel organized.
2. Editing Premiere Pro Keyboard Shortcuts
a. Selecting and Trimming
- V: Selection Tool – The standard tool for choosing videos and other timeline elements.
- C: Razor Tool – Quickly cut clips in the timeline.
- B: Ripple Edit Tool – Set an edit point, then move the clips that come after it to automatically fill in the space.
- N: Rolling Edit Tool – Adjust an edit point without affecting the rest of the timeline.
- Q: Trim Previous Edit to Play head – Trims the clip before the play head.
- W: Trim Next Edit to Play head – Trims the clip after the play head.
b. Adding and Removing
- Cmd/Ctrl + K: Add Edit – This shortcut cuts the clip at the play head position.
- Shift + Delete: Ripple Delete – removes the chosen clip and advances the next few clips to close the space left by it.
- Cmd/Ctrl + Z: Undo – Revert the last action.
- Cmd/Ctrl + Shift + Z: Redo – Reapply the last action that was undone.
3. Audio Editing Premiere Pro Keyboard Shortcuts
a. Audio Adjustments
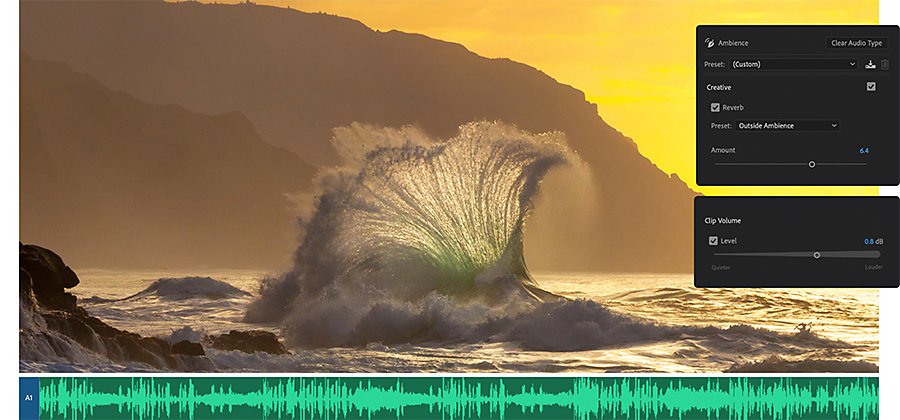
- G: Audio Gain – Quickly change a chosen clip’s audio gain.
- Cmd/Ctrl + L: Link/Unlink Audio and Video – Toggle linking and unlinking audio from video, allowing for separate editing.
- Shift + G: Normalize Audio Levels – Normalize the peaks of your audio clips.
b. Audio Keyframes
- Cmd/Ctrl + Click: Add/Remove Keyframe – Add or remove a keyframe on the audio track.
- Alt/Option + Drag: Adjust Keyframe Values – Adjust the values of existing keyframes by dragging.
4. Color Grading and Effects Shortcuts

a. Color Correction
- Cmd/Ctrl + 6: Open Lumetri Color Panel – Open the Lumetri Color panel for color correction and grading.
- Cmd/Ctrl + Shift + A: Deselect All – Deselect all selected clips and effects.
b. Applying Effects
- Cmd/Ctrl + Shift + D: Apply Default Transition – Apply the default transition to the selected clips.
- Cmd/Ctrl + T: New Title – Come up with a fresh project title.
- Cmd/Ctrl + E: Export Frame – Export a frame from the timeline as an image.
5. Workflow Efficiency Shortcuts
a. General Efficiency
- Cmd/Ctrl + S: Save Project – Frequently save your project to avoid losing work.
- Cmd/Ctrl + Shift + S: Save As – Save the project with a new name or location.
- Cmd/Ctrl + Q: Quit Premiere Pro – Exit the application.
b. Customizing Shortcuts
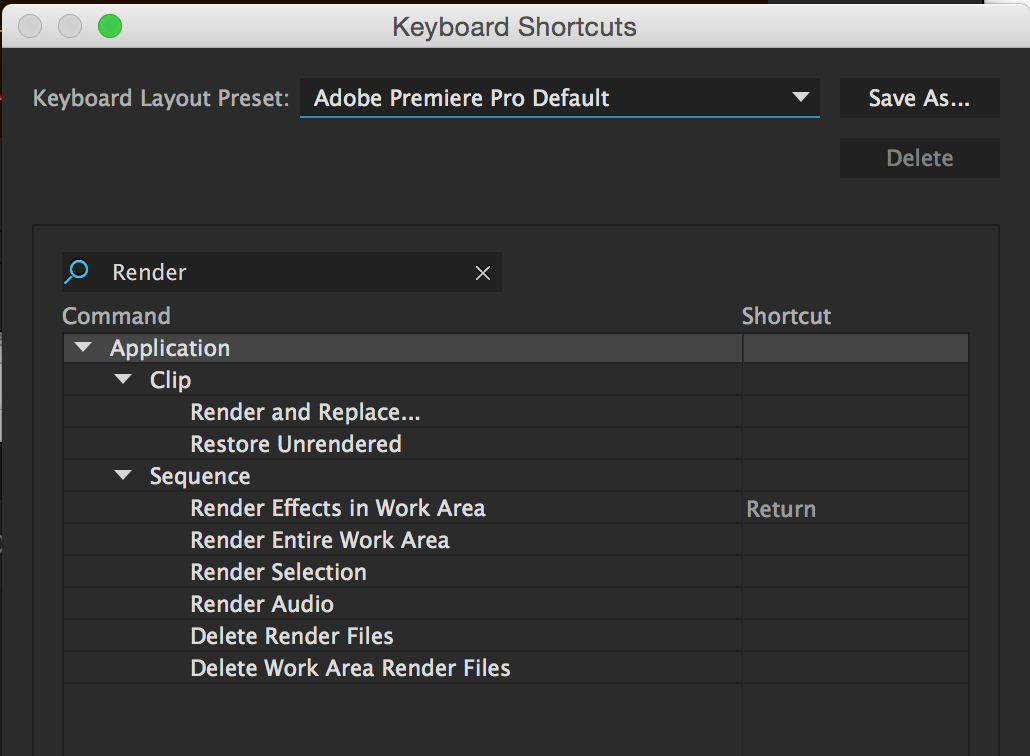
- Cmd/Ctrl + Alt + K: Keyboard Shortcuts – Open the keyboard shortcuts panel to customize your own shortcuts.
- F1: Help – Open the Adobe Premiere Pro help menu.
6. Advanced Editing Shortcuts
a. Multi-Camera Editing
- Shift + 0-9: Switch Multi-Camera Angles – Quickly switch between different camera angles during multi-camera editing.
- Cmd/Ctrl + Shift + C: Multi-Camera Monitor – Open the multi-camera monitor for easy editing of multi-camera sequences.
b. Advanced Trimming
- T: Track Select Tool – Choose every clip on a track starting at a specific moment.
- A: Select All Forward – Select all clips forward from the play head.
- Shift + A: Select All Backward – Choose every clip to play backward from the play head.
7. Rendering and Exporting Shortcuts
a. Preparing for Export
- Cmd/Ctrl + M: Export Media – To export your finished product, open the export settings.
- Cmd/Ctrl + Shift + E: Export Selection as Project – Export the selected part of your timeline as a new project.
b. Render Settings
- Enter/Return: Render Effects In to Out – Produce every impact inside the in and out points.
- I: Mark In – Set the in point for rendering or exporting.
- O: Mark Out – Set the out point for rendering or exporting.
Conclusion
Mastering these Premiere Pro keyboard shortcuts will undoubtedly increase your efficiency and proficiency in video editing. Whether you are navigating through your timeline, trimming clips, adjusting audio, or preparing your project for export, these shortcuts are essential tools for any video editor.
FAQ – Premiere Pro Keyboard Shortcuts
1. What are Premiere Pro keyboard shortcuts?
Premiere Pro keyboard shortcuts are key combinations that help you quickly perform editing tasks like cutting clips, moving through the timeline, or applying effects without using the mouse.
2. Why should I use keyboard shortcuts in Premiere Pro?
Using keyboard shortcuts speeds up your editing workflow, saves time, and improves efficiency by allowing you to keep your hands on the keyboard instead of constantly switching to the mouse.
3. How do I cut or split a clip in Premiere Pro using a shortcut?
Press C to select the Razor Tool and click on the clip where you want to cut.
Alternatively, press Ctrl + K (Windows) or Cmd + K (Mac) to cut at the playhead position.
4. What is the shortcut to play or pause the timeline in Premiere Pro?
Press the Spacebar to start or stop playback in the timeline.
5. How can I zoom in and out of the timeline quickly?
- Zoom In: Press the = (equals) key
- Zoom Out: Press the – (minus) key
6. What is the shortcut for selecting the Move Tool in Premiere Pro?
Press V to switch to the Selection (Move) Tool, allowing you to drag and position clips on the timeline.
7. How do I add markers using keyboard shortcuts in Premiere Pro?
Press M to add a marker at the current playhead position.
Double-click the marker to edit its name and color.
8. What is the shortcut to ripple delete in Premiere Pro?
After selecting a gap or clip, press Shift + Delete (Windows) or Shift + Forward Delete (Mac) to remove it and close the gap automatically.
9. How can I undo and redo actions in Premiere Pro using shortcuts?
- Undo: Ctrl + Z (Windows) / Cmd + Z (Mac)
- Redo: Ctrl + Shift + Z (Windows) / Cmd + Shift + Z (Mac)
10. Where can I find a full list of Premiere Pro keyboard shortcuts?
You can access the complete list by going to Edit > Keyboard Shortcuts (Windows) or Premiere Pro > Keyboard Shortcuts (Mac). Adobe’s official website also provides a downloadable PDF of all shortcuts.







I don’t think the title of your article matches the content lol. Just kidding, mainly because I had some doubts after reading the article. https://www.binance.com/si-LK/register?ref=V2H9AFPY
Can you be more specific about the content of your article? After reading it, I still have some doubts. Hope you can help me.
I don’t think the title of your article matches the content lol. Just kidding, mainly because I had some doubts after reading the article.
Your article helped me a lot, is there any more related content? Thanks!