Introduction to the Clone Stamp Tool
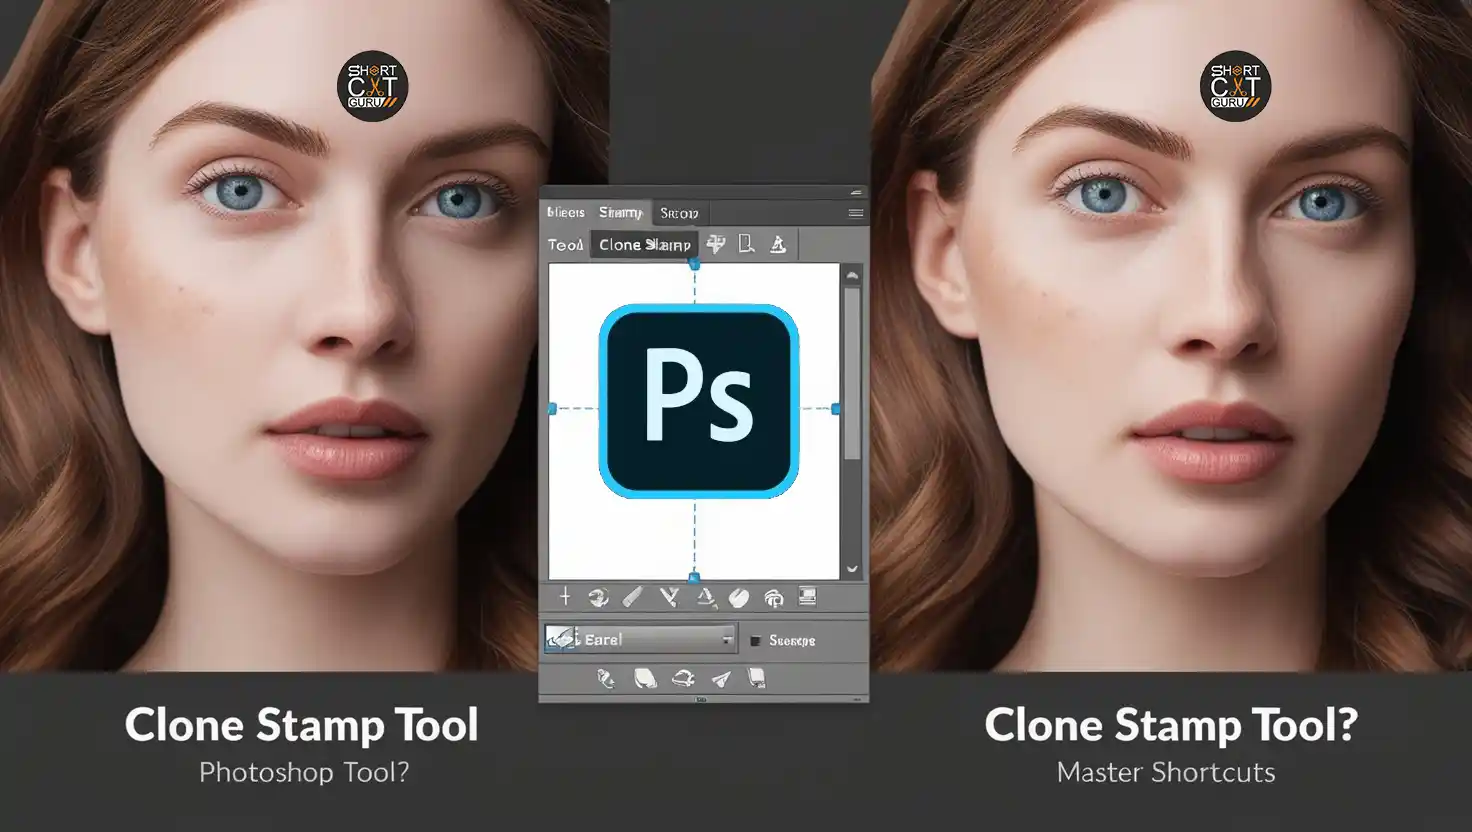
When it comes to photo editing, Photoshop offers a variety of tools, but the Clone Stamp Tool stands out as one of the most versatile. It’s like having a digital magic brush that lets you copy and paste parts of an image with precision. Whether you’re removing unwanted objects, fixing blemishes, or recreating intricate details, the Clone Stamp Tool is your go-to resource for perfection. So, what exactly is it, and why should you master its shortcuts?
Table of Contents
What Is the Tool of Clone Stamp in Photoshop?
The Clone Stamp Tool allows you to duplicate portions of an image by sampling a part of the photo and then “stamping” that sample elsewhere. Think of it like copying one part of your picture and pasting it over another part, all while keeping the surrounding details intact. This makes it incredibly useful for restoring old photos, retouching portraits, and removing unwanted items from your shots.
Why Is It Important for Designers and Photographers?
In the world of digital art and photography, precision is key. You can’t afford to have smudges or poorly aligned textures. The Clone Stamp not only lets you make pixel-perfect edits but also helps in keeping the visual integrity of your work intact. That’s why mastering the shortcuts for this tool is crucial—it saves time and ensures accuracy.

Photoshop Clone Stamp Tool Shortcuts
Here’s a list of Photoshop Clone Stamp Tool shortcuts in a convenient table format. These shortcuts are designed to help you work more efficiently and enhance your overall editing workflow in Photoshop.
| Function | Windows Shortcut | Mac Shortcut |
| Select Clone Stamp Tool | S | S |
| Set Source Point for Cloning | Alt + Click | Option + Click |
| Increase Brush Size | ] | ] |
| Decrease Brush Size | [ | [ |
| Increase Brush Hardness | Shift + ] | Shift + ] |
| Decrease Brush Hardness | Shift + [ | Shift + [ |
| Adjust Opacity | Press number keys (1-9 for 10%-90%) | Press number keys (1-9 for 10%-90%) |
| Adjust Flow | Shift + number keys (1-9 for 10%-90%) | Shift + number keys (1-9 for 10%-90%) |
| Align/Unalign Source Point | Alt + Shift | Option + Shift |
| Flip Clone Sample Horizontally | Shift + Alt + (Arrow key) | Shift + Option + (Arrow key) |
| Rotate Clone Sample | Shift + Alt + (Arrow key) | Shift + Option + (Arrow key) |
| Cycle Through Brush Modes | Shift + (+ or -) | Shift + (+ or -) |
| Zoom In | Ctrl + + | Command + + |
| Zoom Out | Ctrl + – | Command + – |
These shortcuts will help you quickly access the features of the Clone Stamp Tool and make fine adjustments while editing.
Getting Started with the Photoshop Clone Stamp Tool
Before diving into the shortcuts, let’s take a look at how to get started with the Stamp Tool in Photoshop.
How to Access the Photoshop Clone Stamp Tool
Accessing the Photoshop Stamp Tool is easy. Simply open Photoshop, and you can either go through the Tools panel on the left or use the keyboard shortcut (S) to select it instantly.
- Open Photoshop.
- Press S on your keyboard to activate the Clone Tool.
- Or, locate it in the left-hand toolbar.
Basic Functionality of the Photoshop Stamp Tool
Once the tool is activated, you’ll need to choose the part of the image you want to clone by holding down the Alt key (Windows) or Option key (Mac) and clicking on the area you want to sample. Then, you can paint over the area where you want to apply the cloned content. The key is understanding the tool’s settings, such as brush size, opacity, and flow, which can be quickly adjusted using shortcuts.
Essential Photoshop Clone Stamp Tool Shortcuts
Time-saving shortcuts can be a game-changer when you’re editing large projects. Let’s break down the most useful shortcuts for the Clone Stamp Tool.
Selecting the Clone Tool Shortcuts
Want to get straight to business? You can instantly activate the Clone Stamp Tool by pressing S. This is the quickest way to start cloning areas in your image.
- Shortcut: S key
Adjusting Brush Size with Keyboard Shortcuts
Having the right brush size is crucial for precise cloning. You can easily adjust the brush size without leaving the canvas:
- Increase brush size: ]
- Decrease brush size: [
Rotating and Flipping Cloned Area Shortcuts
Did you know that you can rotate or flip the area you’re cloning? This is especially useful when you’re dealing with complex patterns.
- Rotate clone source clockwise: Shift + Alt + > (Windows) / Shift + Option + > (Mac)
- Rotate clone source counterclockwise: Shift + Alt + < (Windows) / Shift + Option + < (Mac)
Resetting Tool Settings Shortcut
If your Clone Stamp Tool starts behaving oddly, you can reset it to its default settings quickly.
- Reset tool settings: Right-click on the tool icon in the Options bar and select “Reset Tool”

Mastering the Photoshop Clone Stamp Tool
Beyond the basic shortcuts, mastering the Clone Stamp Tool involves using it with finesse. Let’s explore some advanced techniques.
Using the Photoshop Stamp Tool with Precision
Precision is essential when cloning fine details. Hold down Shift while dragging the brush to clone in straight lines, ensuring a more accurate edit.
Working with Different Layers
Always clone on a new layer! This allows you to experiment and fine-tune your edits without affecting the original image. You can toggle visibility, adjust opacity, or even apply layer masks to refine your work further.
Masking Techniques with the Photoshop Clone Stamp Tool
Layer masks are incredibly helpful when you want to control exactly where your cloned area is applied. You can clone a section, apply a mask to the layer, and then paint with black or white to reveal or hide parts of the cloned content.
Pro Tips for Using the Clone Stamp Tool
Cloning in Perspective
When cloning objects, make sure to follow the natural perspective of the image. Use the vanishing point grid or guide lines to ensure your cloned areas don’t look out of place.
Blending Cloned Areas
To make your edits seamless, adjust the Opacity and Flow settings on your Clone Stamp Tool. Lowering these values can help blend the cloned area more naturally.
Reducing Repetition with Natural Variations
One common mistake is repeating the same pattern over and over, which looks unnatural. Vary the source area frequently and use the Alt/Option key to resample different parts of the image.
Common Mistakes When Using the Photoshop Clone Stamp Tool
Over-Cloning and Losing Texture
If you clone too much, the texture of the image can be lost, making it look unnatural. Keep an eye on the image’s texture and avoid overdoing the cloning.
Misalignment of Cloned Areas
Misalignment can be a dead giveaway that an image has been edited. Be sure to align the source and target areas carefully.
Ignoring Light and Shadow
Always consider the light source when cloning. Cloning from areas with different lighting conditions will create unnatural results. Make sure the cloned area matches the light and shadow of the surrounding elements.
Conclusion
Mastering the Photoshop Clone Stamp Tool shortcuts is like gaining a superpower in image editing. These shortcuts not only speed up your workflow but also help you work more precisely, leading to better results. Whether you’re retouching portraits, editing landscapes, or removing unwanted objects, knowing how to quickly adjust the Clone Stamp Tool’s settings can make all the difference.

FAQs
What is the shortcut for the Clone Tool in Photoshop?
The shortcut for selecting the Clone Stamp Tool in Photoshop is S.
Can I use more than one layer using the Stamp Tool?
Yes, you can. It’s best to use it on a new layer to keep your edits non-destructive.
Why is my Clone Tool not working properly?
It could be due to several reasons, such as incorrect sampling, layer visibility issues, or misaligned cloned areas. Reset the tool or check your settings.
How can I make cloned areas look more natural?
Use a lower Opacity and Flow setting, and frequently resample different areas to avoid repetition.
What is the main use of the Stamp Tool in Photoshop?
The Clone Stamp Tool is primarily used to duplicate parts of an image to cover up imperfections or remove unwanted objects.
How can I resize the Clone Tool brush quickly?
To change the brush size, press the [ and ] keys.
What is the shortcut for selecting the Stamp Tool?
Press S on your keyboard to select the Clone Stamp Tool instantly.
Can I flip the cloned area with the Clone Tool?
Yes, you can flip the clone sample horizontally or vertically by holding Shift + Alt (Windows) / Shift + Option (Mac) while dragging.
Is the Stamp Tool better than the Healing Brush Tool?
It depends on the situation. The Clone Stamp Tool offers more precision, while the Healing Brush Tool automatically blends the cloned area.










Your point of view caught my eye and was very interesting. Thanks. I have a question for you.
Your article helped me a lot, is there any more related content? Thanks!
Can you be more specific about the content of your article? After reading it, I still have some doubts. Hope you can help me.
Thanks for sharing. I read many of your blog posts, cool, your blog is very good.
Can you be more specific about the content of your article? After reading it, I still have some doubts. Hope you can help me.
I don’t think the title of your article matches the content lol. Just kidding, mainly because I had some doubts after reading the article.