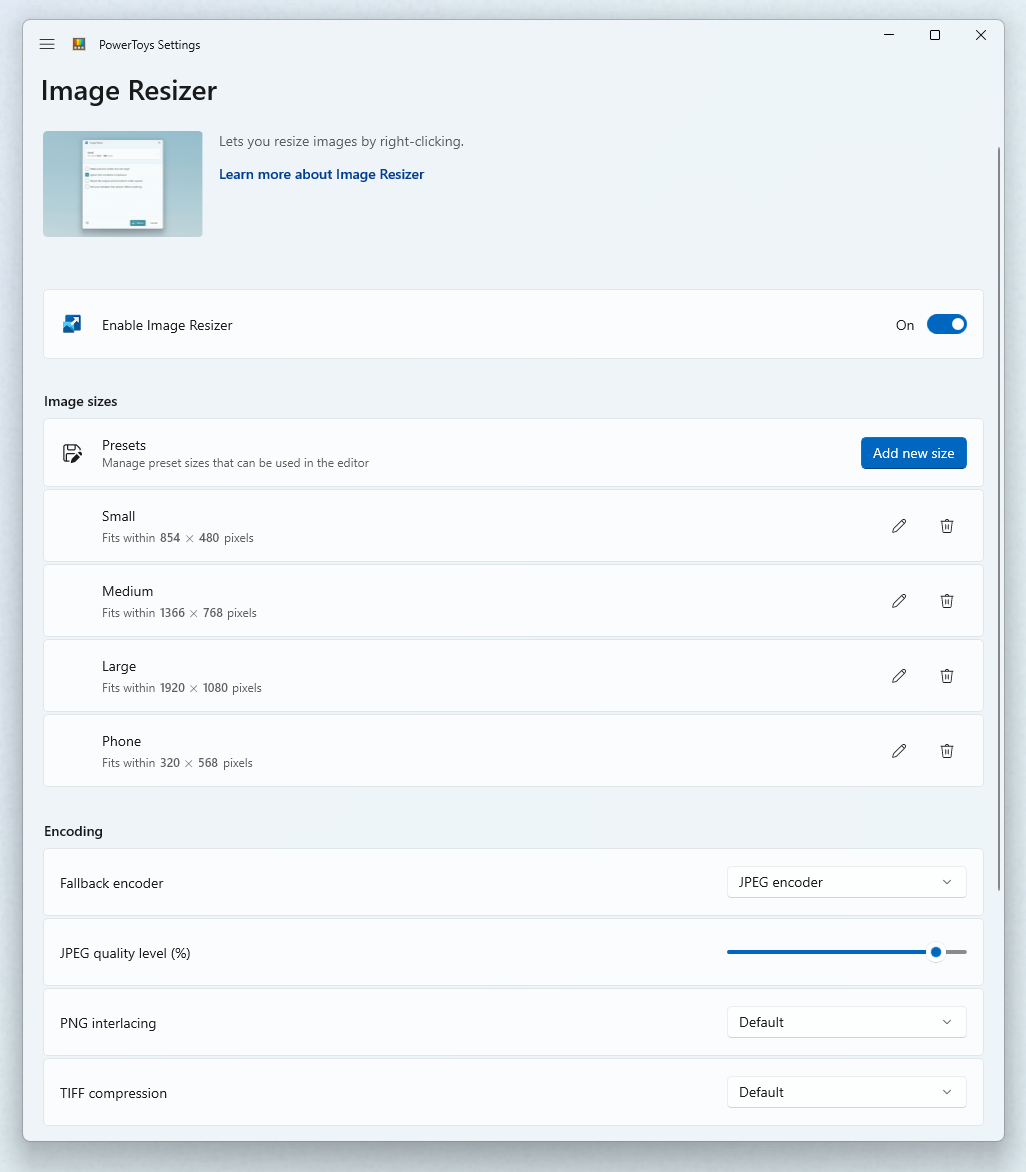
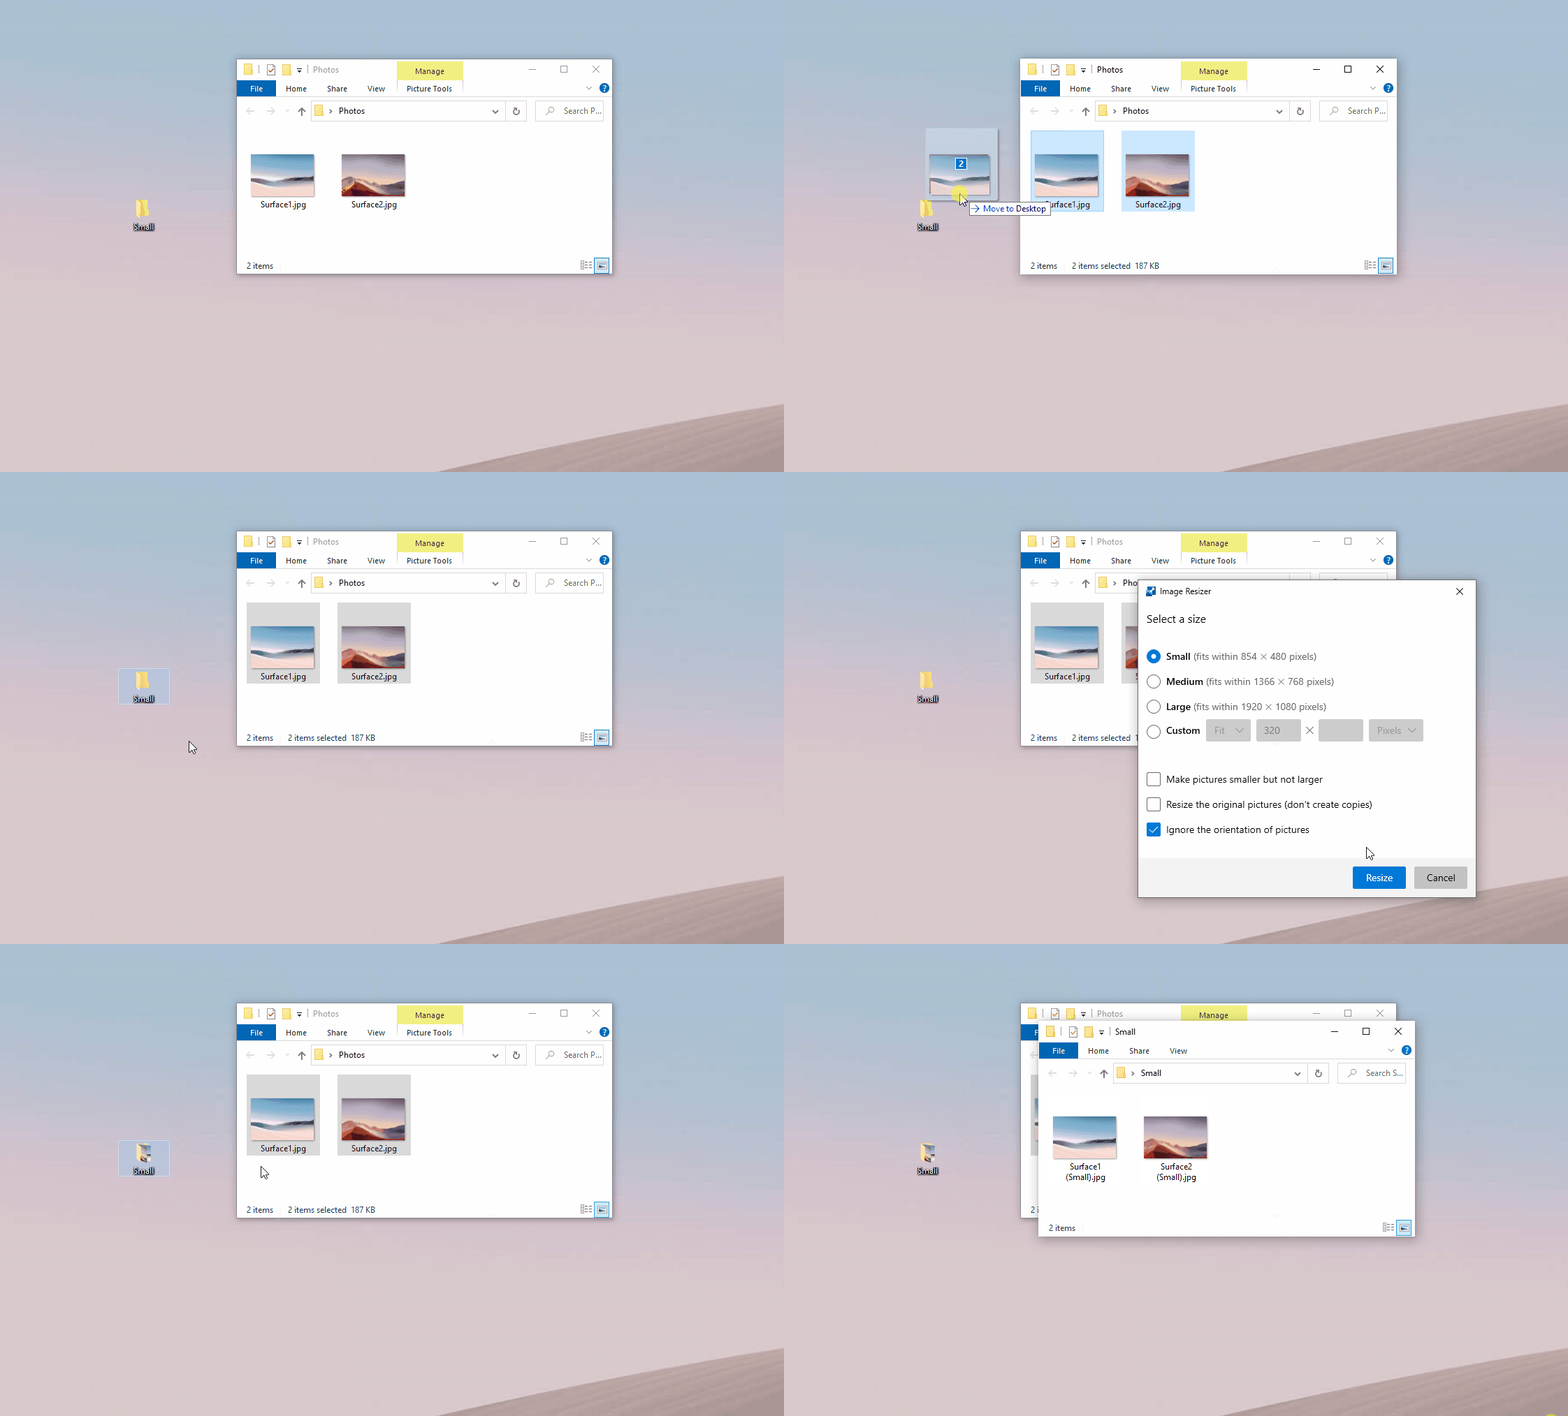
Bulk Resize Images in Windows 11 : Resizing images is an essential task in today’s digital world, whether for personal use, web design, or professional purposes. However, resizing images one by one can be time-consuming. This is where bulk resizing comes into play, saving you a significant amount of time and effort. Windows 11 offers various built-in and third-party tools to help you resize images in bulk, making the process straightforward and efficient.
Table of Contents
Understanding Image Resizing
What is Image Resizing?
Image resizing involves altering the dimensions of an image, either by reducing or increasing its width and height. This process helps in optimizing images for different purposes, such as faster loading times on websites or fitting them into specific frame sizes.

Benefits of Resizing Images
Resizing images can greatly enhance your workflow by:
- Decreasing the size of files to enable faster uploads and downloads.
- Ensuring images fit specific dimensions for printing or digital use.
- Improving load times for websites to improve performance.
- Making images uniform in size for a cohesive look in presentations and galleries.
Preparing for Bulk Resize Images in Windows 11
Organizing Your Images
Before you begin resizing, it’s crucial to organize your images into a single folder. This simplifies the process and ensures you don’t miss any files.
Choosing the Right Tools
Windows 11 offers several tools for resizing images, both built-in and third-party. You can select the tool that best meets your needs based on your needs.
Built-in Tools in Windows 11

Using Microsoft Photos
Accessing Microsoft Photos
Microsoft Photos is a versatile tool that comes pre-installed on Windows 11. To access it, search for “Photos” in the Start menu.
Resizing Single Images
- Open the image in Microsoft Photos.
- You can click on the three dots located in the upper right corner.
- You can click on the three dots located in the upper right corner.
- Click “Resize” to enter new dimensions or select from the pre-set sizes.

Using Paint
Paint is another built-in tool that can be used for quick resizing tasks.
Simple Steps for Resizing
- Open the image in Paint.
- Click on “Resize” in the toolbar.
- Click “OK” after selecting the desired pixel size or percentage.
Third-Party Tools for Bulk Resizing
Overview of Popular Tools
Several third-party tools offer advanced features for bulk resizing. Some popular options include FastStone Photo Resizer, IrfanView, XnConvert, and Adobe Photoshop.
Comparing Features
When choosing a third-party tool, consider factors like ease of use, supported file formats, and additional features such as watermarking and batch processing.
Using FastStone Photo Resizer
Downloading and Installing
Visit the FastStone Photo Resizer website and download the installer. Following the on-screen instructions is necessary for installing the software.
Step-by-Step Guide to Bulk Resizing
- Open FastStone Photo Resizer.
- Choose the photos that you wish to resize.
- Choose the output folder and resizing options.
- Click “Convert” to start the resizing process.
Using IrfanView
Downloading and Installing
Install IrfanView after downloading it from the official website.
Step-by-Step Guide to Bulk Resizing
- Go to “File” > “Batch Conversion/Rename” after opening IrfanView.
- Add the images you want to resize.
- Choose the output format and size options.
- To resize the photos, click “Start Batch”.
Using XnConvert
Downloading and Installing
Download XnConvert from the official website and install it.
Step-by-Step Guide to Bulk Resizing
- Open XnConvert and add your images.
- Set the desired output size and format.
- Click “Convert” to resize the images.
Using Adobe Photoshop
Why Photoshop?
Adobe Photoshop is a powerful tool for advanced image editing, including bulk resizing.
Step-by-Step Guide to Batch Processing
- After launching Photoshop, select “File” > “Scripts” > “Image Processor”.
- Select the folder containing the images.
- Choose the output format and size.
- “Run” will initiate the batch procedure.
Automating with PowerShell
Basics of PowerShell
PowerShell is a task automation framework from Microsoft that can be used for various administrative tasks, including image resizing.
Writing a Simple Script for Resizing
- Open PowerShell and write a script to resize images using the System. Drawing namespace.
- Run the script to resize images in bulk.
Tips for Optimal Resizing
Maintaining Quality
To maintain image quality, always choose the appropriate resolution and avoid excessive resizing.
Choosing the Right Dimensions
Select dimensions that match your intended use. For web use, smaller sizes are often sufficient, while printing requires higher resolutions.
File Format Considerations
Choose the right file format for your needs. JPEG is great for web use, while PNG is better for high-quality prints.
Troubleshooting Common Issues
Resized Images Losing Quality
Ensure you’re not reducing the image size too much and use a high-quality resizing tool.
Incorrect Dimensions
Double-check your settings and ensure you’re inputting the correct dimensions.
Batch Process Failures
If a batch process fails, check for unsupported file formats or corrupted images.
Advanced Techniques
Adding Watermarks
Many third-party tools allow you to add watermarks during the resizing process.
Converting File Formats
Use tools that support multiple file formats to convert images while resizing them.
Adjusting Image Properties
Adjust properties like brightness and contrast during the resizing process for optimal results.
Saving and Organizing Resized Images
Best Practices for Storage
Save resized images in a dedicated folder to keep them organized and easily accessible.
Naming Conventions
Use consistent naming conventions to avoid confusion and ensure easy retrieval of images.
Conclusion
Resizing images in bulk on Windows 11 is a breeze with the right tools and techniques. Whether you use built-in tools like Microsoft Photos and Paint or third-party software like FastStone Photo Resizer, IrfanView, XnConvert, and Adobe Photoshop, you can save time and maintain image quality. Experiment with different methods to find what works best for you and streamline your image resizing tasks.
FAQs
How do I resize images without losing quality?
To resize images without losing quality, use high-quality resizing tools and avoid excessive resizing.
Is it possible to use Windows 11’s command prompt to resize images?
Yes, you can use PowerShell scripts to resize images via the command prompt.
Which tool works best for mass image resizing?
The best tool depends on your needs. FastStone Photo Resizer, IrfanView, XnConvert, and Adobe Photoshop are all excellent options.
How do I choose the right dimensions for my images?
Choose dimensions based on your intended use. For web use, smaller sizes are sufficient, while printing requires higher resolutions.
Are there any online tools for bulk resizing?
Yes, several online tools are available for bulk resizing, such as Bulk Resize Photos and Online Image Resize.


