How to Fix Blue Screen of Death: The dreaded Blue Screen of Death (BSOD) is a nightmare for many Windows users. When your computer suddenly crashes and you see that blue screen, it can feel like the end of the world. But don’t worry, we’ve got your back! In this comprehensive guide, we’ll walk you through everything you need to know about the Blue Screen of Death, how to fix blue screen issues, and what to do to prevent them in the future. Let’s dive in and conquer that blue screen once and for all!
Table of Contents
Understanding the Blue Screen of Death Causes
The Blue Screen of Death (BSOD) is an error screen displayed by the Windows operating system when a fatal system error occurs. This error can be caused by hardware or software issues, and it often results in the system crashing to prevent further damage.
Typical Reasons for the Blue Screen of Death Troubleshooting
- Power Supply Problems: System crashes may be caused by an irregular power supply.
- Hardware Failures: Issues with RAM, hard drives, or other hardware components can trigger a BSOD.
- Driver Issues: System instability may be brought on by outdated or corrupt drivers.
- Software Conflicts: Incompatible software or malware can lead to a BSOD.
- Overheating: Hardware components may malfunction due to extreme heat.
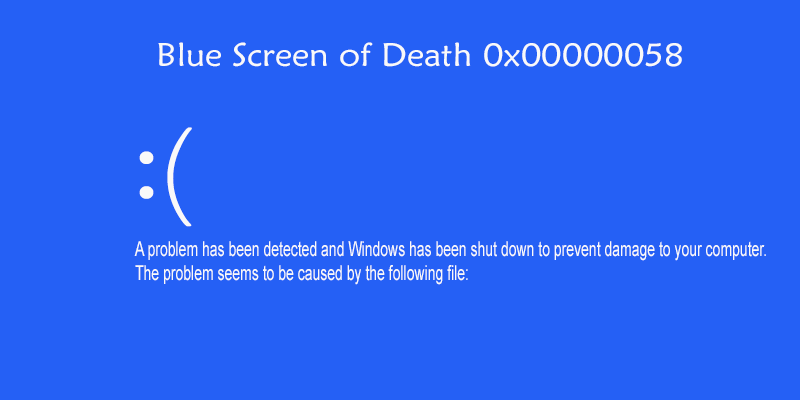
Step 1: Blue Screen of Death Error Codes
When you encounter a BSOD, take note of the error code and any accompanying message. To diagnose the problem, this information is essential. Common error codes include:
IRQL_NOT_LESS_OR_EQUAL
When the Blue Screen of Death appears, it often displays an error code that can help identify the cause of the issue. Make sure to note this code before restarting your computer.
- Write Down the Error Code: The error code often shows up at the bottom of the screen when the BSOD occurs. Something like “IRQL_NOT_LESS_OR_EQUAL” or “STOP: 0x0000007B” may be displayed.
- Search Online: Use the error code to search for specific solutions online. Many error codes have well-documented fixes and troubleshooting steps.
PAGE_FAULT_IN_NONPAGED_AREA 🛠️
This error code indicates that the system tried to access a part of memory that should not be paged out. This can happen due to:
- Faulty RAM: The memory module may be damaged or failing.
- Corrupt System Files: Essential system files required for normal operation may be corrupted.
- Incorrect Memory Access: A driver or software may be attempting to access invalid memory addresses.
How to Fix:
- Check Your RAM: Run a memory diagnostic tool like MemTest86 to check for faulty RAM.
- Update Drivers: Ensure all drivers are up-to-date, especially those related to storage and memory.
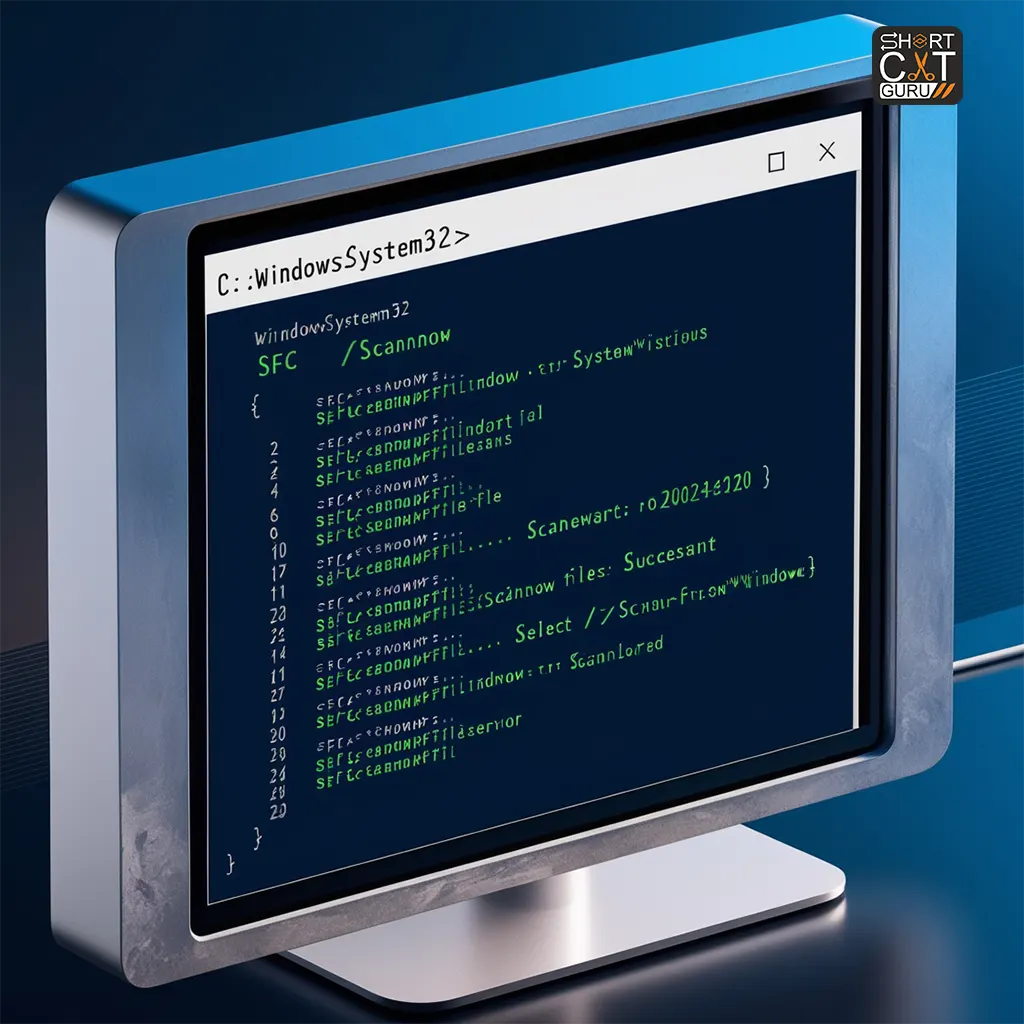
- Check System Files: Use the System File Checker tool (sfc /scannow) to repair corrupted system files.
SYSTEM_THREAD_EXCEPTION_NOT_HANDLED ⚙️
This error code indicates that an exception was created by a system thread and was not caught by the error handler. Common causes include:
- Faulty or Outdated Drivers: Drivers for hardware components like graphics cards or network adapters may be causing conflicts.
- Corrupt System Files: System files required for operation may be corrupted.
- Software Conflicts: Recently installed software may be incompatible with your system.
How to Fix:
- Update Drivers: Ensure all your drivers are updated to the latest versions. Focus on recently installed drivers.
- Boot into Safe Mode: Use Safe Mode to troubleshoot and uninstall any problematic software or drivers.
- Check System Files: Use the System File Checker tool (sfc /scannow) to repair corrupted system files.
Step 2: Restart Your Computer 💻
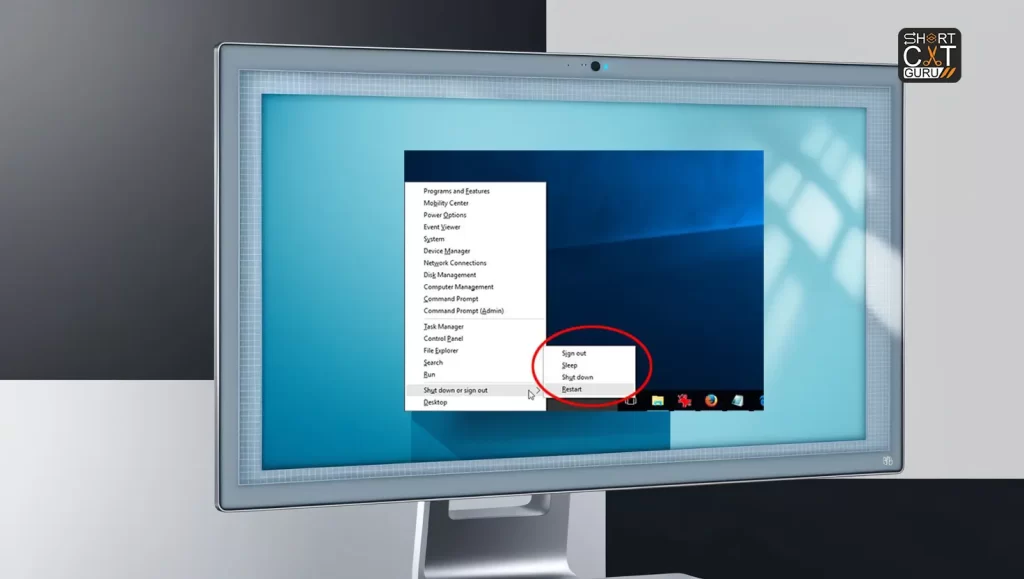
Sometimes, the simplest solution is the most effective. Restarting your computer can resolve many temporary issues that cause the Blue Screen of Death.
How to Restart:
- Click on the Start Menu: Navigate to the Start Menu at the bottom-left corner of your screen.
- Select Restart: Click on the Power button and choose Restart from the options.
Why This Helps:
- Clears Temporary Issues: Restarting can clear out any temporary glitches or conflicts.
- Resets System Processes: It helps reset all system processes, which may fix the problem causing the BSOD.
If the Blue Screen of Death reappears after restarting, it indicates a more persistent issue that requires further troubleshooting. Continue with the other steps outlined in this guide to identify and resolve the problem.
Step 3: Boot into Safe Mode 🔒
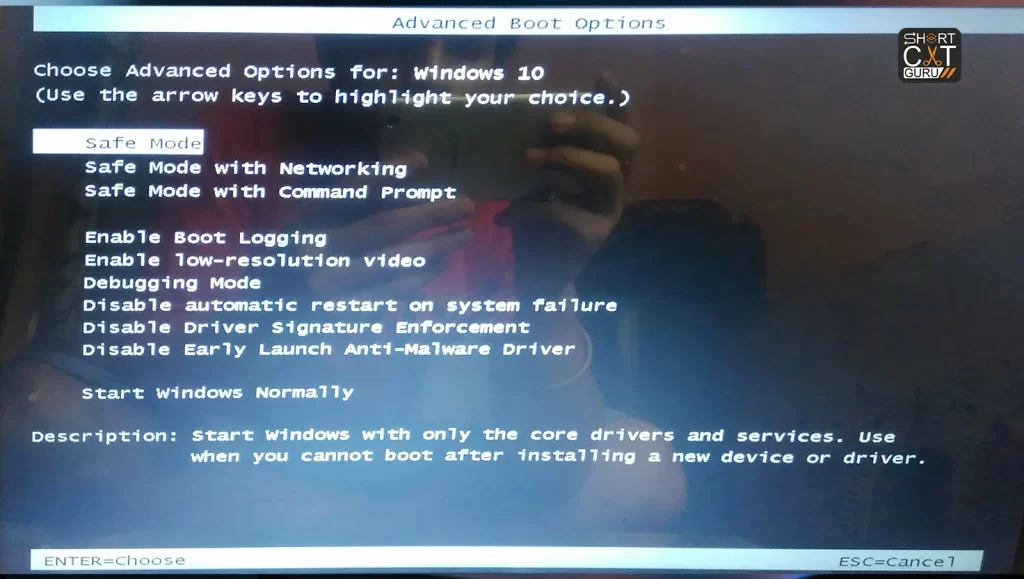
Safe Mode is a diagnostic mode that allows you to troubleshoot and fix problems by starting your computer with a minimal set of drivers and services. This can help you identify and resolve issues causing the Blue Screen of Death.
How to Boot into Safe Mode:
- Restart Your Computer: Click the Start Menu, then pick Restart from the Power button menu.
- Enter Advanced Startup Options: While the computer is restarting, press the F8 key (or Shift + F8 for some systems) repeatedly until the Advanced Boot Options menu appears.
- Select Safe Mode: After using the arrow keys to highlight Safe Mode, press Enter.
Why Boot into Safe Mode:
- Minimal Drivers: Safe Mode loads only the essential drivers, which helps in diagnosing driver-related issues.
- No Third-Party Software: It prevents third-party software from interfering, making it easier to identify the root cause of the problem.
- Troubleshoot and Fix: You can update drivers, uninstall problematic software, and run system scans in a controlled environment.
By booting into Safe Mode, you can perform tasks such as updating drivers, scanning for malware, and uninstalling problematic software without interference from other applications or processes. This is a crucial step in resolving the Blue Screen of Death.
Step 4: Check for Hardware Issues 🔧
Hardware problems can often be the culprit behind the Blue Screen of Death. Ensuring that your hardware components are functioning properly is crucial in troubleshooting and fixing BSODs.
Steps to Check for Hardware Issues:
Inspect Hardware Components:
- Power Down and Unplug: Before inspecting any hardware, make sure your computer is powered down and unplugged.
- Check Connections: Ensure all internal components (RAM, hard drives, graphics cards) are securely connected.
- Look for Damage: Visually inspect components for any obvious signs of damage or wear.
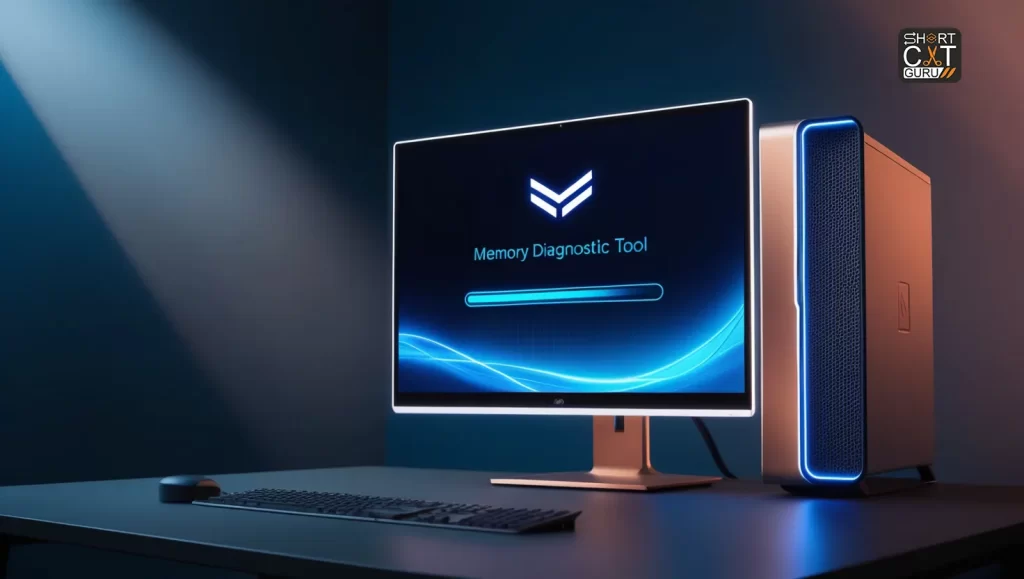
Run Hardware Diagnostics:
- Use Built-in Tools: Many computers have diagnostic tools built right in. Dell has the Dell Diagnostic Tool.
- Third-Party Software: Use software like HWMonitor, Speccy, or AIDA64 to check the health of your hardware.
Test RAM and Hard Drives:
- RAM Testing: Use a tool like MemTest86 to test your RAM. Insert the MemTest86 USB stick and boot from it to start the test. Let it run multiple passes to thoroughly check the memory.
- Hard Drive Testing: Run CHKDSK (Check Disk) to check for errors on your hard drive. Open Command Prompt as an administrator and type chkdsk /f /r followed by the drive letter (e.g., chkdsk C: /f /r).
Why Check for Hardware Issues:
- Identify Faulty Components: Finding and replacing faulty hardware can prevent future BSODs.
- Improve System Stability: Ensuring all hardware is functioning correctly improves overall system stability.
- Avoid Data Loss: Early detection of failing hardware can help prevent data loss by allowing you to back up important data before complete failure.
By thoroughly checking your hardware, you can identify and fix issues that might be causing the Blue Screen of Death, ensuring your system runs smoothly and reliably.
Step 5: Update Drivers 🔄
Outdated or corrupt drivers are a common cause of the Blue Screen of Death. Keeping your drivers up-to-date ensures that your hardware and software communicate effectively, reducing the risk of BSODs.
Steps to Update Your Drivers:
Open Device Manager:
- Right-Click on Start: Right-click on the Start button to open the context menu.
- Select Device Manager: Choose Device Manager from the list.
Locate Problematic Drivers:
- Look for Yellow Exclamation Marks: In Device Manager, identify drivers with a yellow exclamation mark, indicating a problem.
- Expand Device Categories: Expand categories like Display Adapters, Network Adapters, Sound, Video, and Game Controllers to find problematic drivers.
Update Drivers:
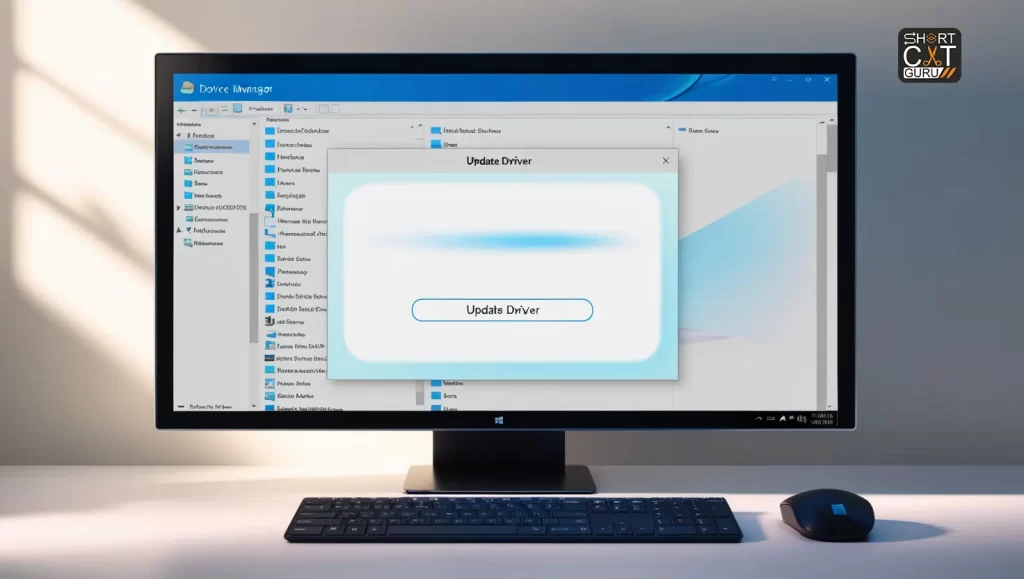
- Right-Click on the Driver: Right-click on the problematic driver.
- Select Update Driver: Choose Update Driver from the context menu.
- Search Automatically for Updated Driver Software: Allow Windows to search online for the latest driver software and install it.
Use Manufacturer’s Website:
- Visit Manufacturer’s Website: Go to the hardware manufacturer’s website (e.g., NVIDIA, AMD, Intel).
- Download Latest Drivers: Search for the latest drivers for your specific hardware model.
- Install the Drivers: Download and run the driver installer, following the on-screen instructions.
Why Update Drivers:
- Fix Compatibility Issues: New drivers often fix compatibility issues with the operating system and other software.
- Improve Performance: Updated drivers can enhance the performance of your hardware.
- Resolve Bugs and Glitches: Driver updates can fix bugs and glitches that might be causing BSODs.
By regularly updating your drivers, you can prevent many issues that lead to the Blue Screen of Death, ensuring a more stable and efficient computer system.
Step 6: Run a Malware Scan 🛡️
Malware can corrupt system files and cause the Blue Screen of Death. Running a thorough malware scan helps identify and remove malicious software, improving system stability and security.
Steps to Run a Malware Scan:
Use Built-in Windows Defender:
- Open Windows Security: In the Start Menu, type “Windows Security,” then pick it from the list of options.
- Navigate to Virus & Threat Protection: Click Virus & Threat Protection under Windows Security.
- Run a Quick Scan: Click on Quick Scan to check for immediate threats. Choose Full Scan for a deeper scan.
Use Third-Party Antivirus Software:
- Install Reliable Antivirus Software: If you don’t have one, install a reputable antivirus program like Bitdefender, Norton, or Malwarebytes.
- Update the Antivirus Database: Ensure the antivirus software is up-to-date with the latest virus definitions.
- Run a Full System Scan: Launch the antivirus software and select Full System Scan to check all files and programs on your computer.
Remove Detected Malware:
- Quarantine or Delete Threats: Follow the antivirus software’s instructions to quarantine or delete any detected malware.
- Restart Your Computer: After removing malware, restart your computer to ensure all changes take effect.
Why Run a Malware Scan:
- Prevent System Corruption: Malware can corrupt system files, leading to BSODs.
- Enhance Security: Regular scans help protect your data and privacy from malicious attacks.
- Improve Performance: Removing malware can improve your computer’s performance and stability.
By running regular malware scans, you can protect your system from malicious software that might cause the Blue Screen of Death, ensuring a safer and more reliable computing experience.
Step 7: Revert Recent Changes 🔄
Sometimes, recent changes to your system can cause the Blue Screen of Death. Reversing these modifications can assist in fixing the problem and bringing your computer’s stability back.
Steps to Revert Recent Changes:
Uninstall Problematic Software:
- Open Settings: To access Settings, click the gear symbol on the Start Menu.
- Go to Apps: In the Settings window, click on Apps.
- Find Recently Installed Software: Scroll through the list to find any software installed just before the BSOD occurred.
- Uninstall the Software: Select the software and click Uninstall.
Use System Restore:
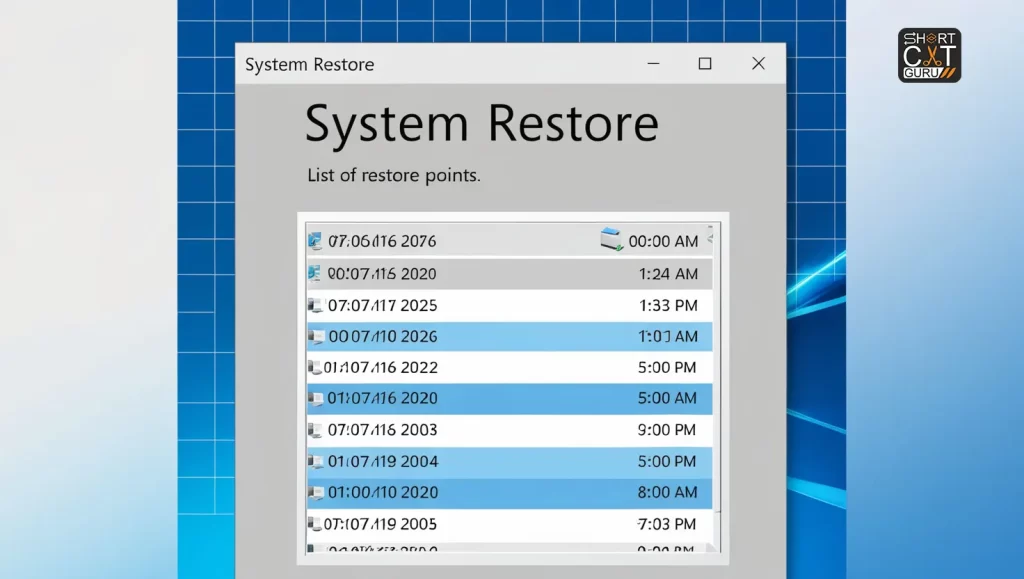
- Open System Restore: Type “System Restore” in the Start Menu search bar and select Create a Restore Point from the results.
- Launch System Restore: In the System Properties window, click on System Restore.
- Choose a Restore Point: Choose a restore point that was made before the onset of the BSOD problem. Click Next and follow the prompts to restore your system.
Revert Driver Updates:
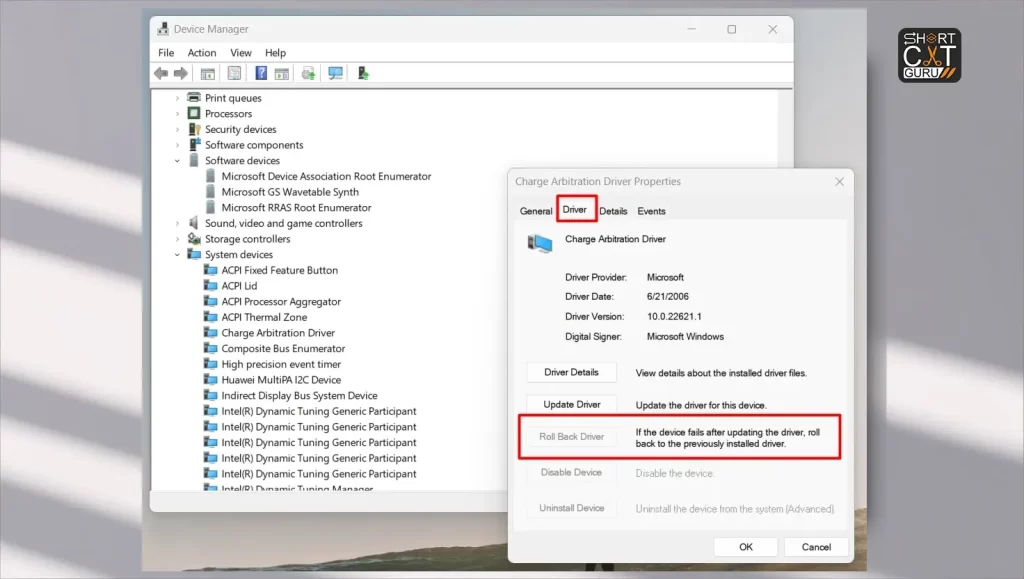
- Open Device Manager: Right-click on the Start button and select Device Manager.
- Find the Recently Updated Driver: Locate the device with the recently updated driver.
- Rollback Driver: Right-click on the device, select Properties, go to the Driver tab, and click Roll Back Driver.
Why Revert Recent Changes:
- Eliminate Conflicts: Reverting changes can eliminate software or driver conflicts causing the BSOD.
- Restore Stability: Reverting to a prior stable state contributes to the seamless operation of your system.
- Identify the Cause: Reverting recent changes can help identify what caused the BSOD, preventing future issues.
By reverting recent changes, you can effectively troubleshoot and fix the Blue Screen of Death, restoring your computer to a stable and functional state.
Step 8: Check System Files 🔍
Corrupted or missing system files can cause the Blue Screen of Death. Running a system file check can help identify and repair these issues, ensuring your system operates smoothly.
Steps to Check System Files:
Run the System File Checker (SFC):
Open Command Prompt as Administrator:
- Select “Start Menu” and type “cmd.”
- With a right-click, choose “Run as administrator” from the Command Prompt menu.
Run the SFC Command:
- In the Command Prompt window, type
sfc /scannowand press Enter. - The System File Checker will start scanning your system for corrupted or missing files and automatically repair them.
Check the Results:
View Scan Results:
- After the scan completes, you’ll see a message indicating whether any issues were found and fixed.
- If SFC finds and fixes issues, restart your computer to apply the changes.
2. Review Detailed Logs (Optional):
- To view detailed logs of the SFC scan, open Command Prompt as an administrator.
- Hit Enter after type findstr /c:”[SR]” %windir%\Logs\CBS\CBS.log > “C:\SFCDetails.txt” hit Enter.
- SFCDetails.txt, a text file containing comprehensive scan results, is created on your C: drive by this command.
Why Check System Files:
- Repair Corrupt Files: Fixing corrupted system files can resolve BSODs caused by file integrity issues.
- Improve Stability: Keeping system files intact improves the system’s overall performance and stability.
- Prevent Future Issues: Regularly checking and repairing system files helps prevent future BSODs and other system problems.
By running the System File Checker, you can identify and fix corrupted or missing system files, reducing the likelihood of encountering the Blue Screen of Death and maintaining a stable and reliable computer system.
Step 9: Update Windows 🔄
Keeping your Windows operating system up to date is essential for maintaining system stability and security. Updates often include fixes for bugs, security vulnerabilities, and compatibility issues that can cause the Blue Screen of Death.
Steps to Update Windows:
Check for Updates:
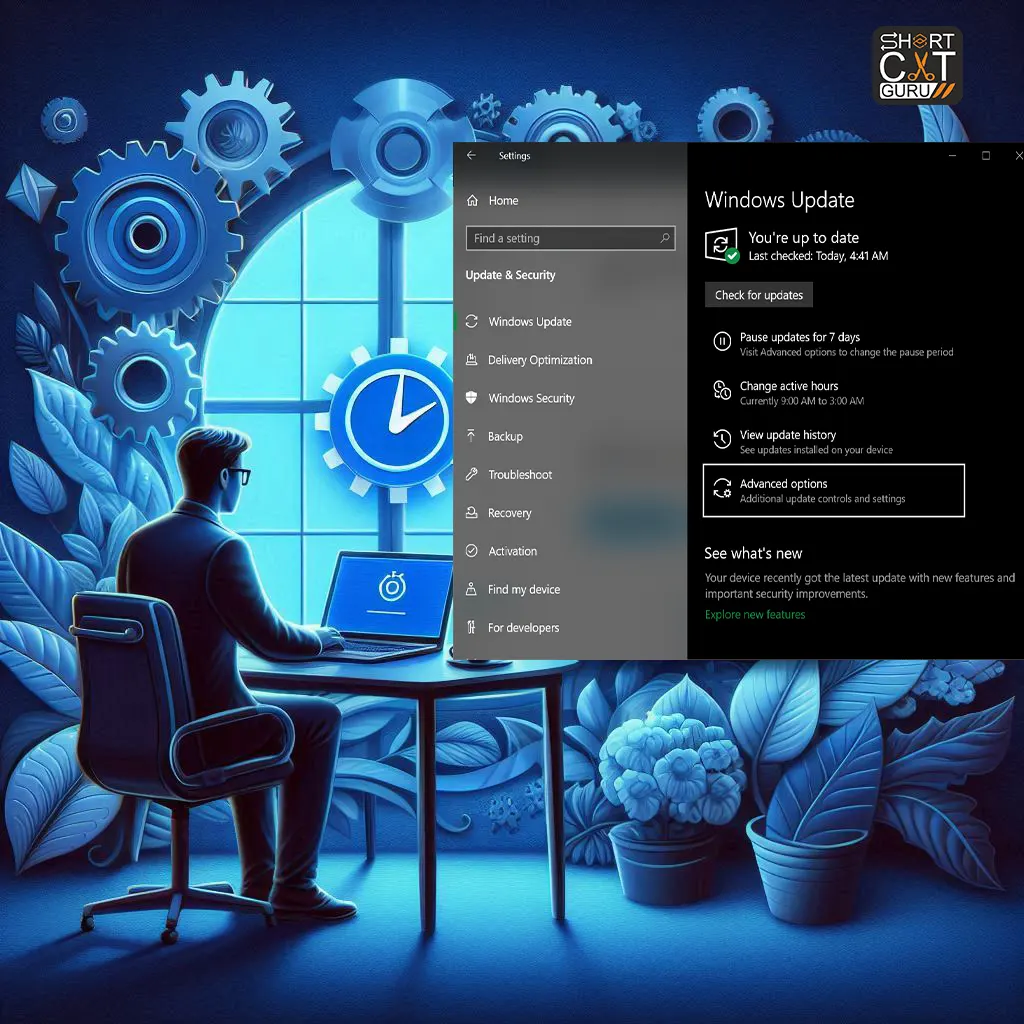
- Open Settings: Choose Settings (the gear icon) from the Start Menu by clicking on it.
- Go to Update & Security: Click the Update & Security button in the Settings pane.
- Click on Check for Updates: Windows will search for available updates. Updates that are discovered will be listed.
Install Available Updates:
- Install Updates: Click on Download and Install if updates are available.
- Restart Your Computer: It’s possible that your computer will need to restart after installation. Press Restart to finish the updating procedure.
Set Up Automatic Updates:
- Ensure Automatic Updates Are Enabled: In the Update & Security settings, make sure Windows Update is set to automatically download and install updates.
- Configure Active Hours: Set active hours to let Windows know when you’re most likely to be using your computer, so it avoids restarting during those times.
Why Update Windows:
- Fix Bugs: Updates often include patches for known bugs that may cause BSODs.
- Enhance Security: Updates address security vulnerabilities, protecting your system from malicious attacks.
- Improve Compatibility: New updates improve compatibility with hardware and software, reducing the risk of system errors.
By keeping your Windows operating system up to date, you can ensure your computer remains secure, stable, and less prone to issues that might lead to the Blue Screen of Death. Regularly checking for and installing updates is a key part of maintaining a healthy and reliable system.
Step 10: Seek Professional Help
If you’ve tried all the troubleshooting steps and the Blue Screen of Death persists, it might be time to seek professional help. Sometimes, complex issues require expert intervention to resolve.
When to Seek Professional Help:
Persistent BSODs:
- Frequent Occurrence: If you experience the Blue Screen of Death frequently despite troubleshooting, it could indicate a deeper, more complex issue.
- Unresolved Errors: If the error codes persist even after trying various fixes, professional assistance might be necessary.
Complex Hardware Issues:
- Internal Damage: If you suspect internal hardware damage or failure, such as a faulty motherboard or failing hard drive, professionals have the tools and expertise to diagnose and repair these issues.
- Advanced Diagnostics: Experts can perform in-depth hardware and software diagnostics that go beyond standard troubleshooting methods.
Software and Driver Conflicts:
- Compatibility Issues: If you’re unable to resolve driver conflicts or software compatibility issues, professionals can help identify and fix these problems.
- System Recovery: In cases where system recovery is needed beyond basic methods, professionals can provide advanced recovery solutions.
How to Seek Professional Help:
- Contact a Repair Service:
- Find a reputable computer repair service or technician. To be sure they have a solid reputation, look for reviews or referrals.
- Consult with a Technical Support Team:
- For software or hardware purchased from a specific manufacturer, contact their technical support for specialized assistance.
- Visit a Service Center:
- If your computer is under warranty or service plan, visit an authorized service center for repairs and diagnostics.
Why Seek Professional Help:
- Expert Diagnosis: Professionals have the expertise and tools to diagnose and repair complex issues that may not be apparent during standard troubleshooting.
- Prevent Further Damage: Expert intervention can prevent further damage to your system, ensuring that issues are resolved correctly and efficiently.
- Save Time: Professionals can quickly address and fix problems, saving you time and reducing frustration.
By seeking professional help when needed, you can ensure that complex Blue Screen of Death issues are addressed properly, helping to restore your computer to optimal performance and reliability.

Conclusion
Although dealing with Microsoft’s “Blue Screen of Death” can be distressing, you can find and fix the problem by following these instructions. Stay calm, follow the troubleshooting process, and you’ll be back to smooth computing in no time. Happy troubleshooting!
By following this comprehensive guide, you’ll be well-equipped to tackle the BSOD and keep your computer running smoothly. Good luck!




I don’t think the title of your article matches the content lol. Just kidding, mainly because I had some doubts after reading the article.
I don’t think the title of your article matches the content lol. Just kidding, mainly because I had some doubts after reading the article.